Organizations
Last Updated: 2026-06-15
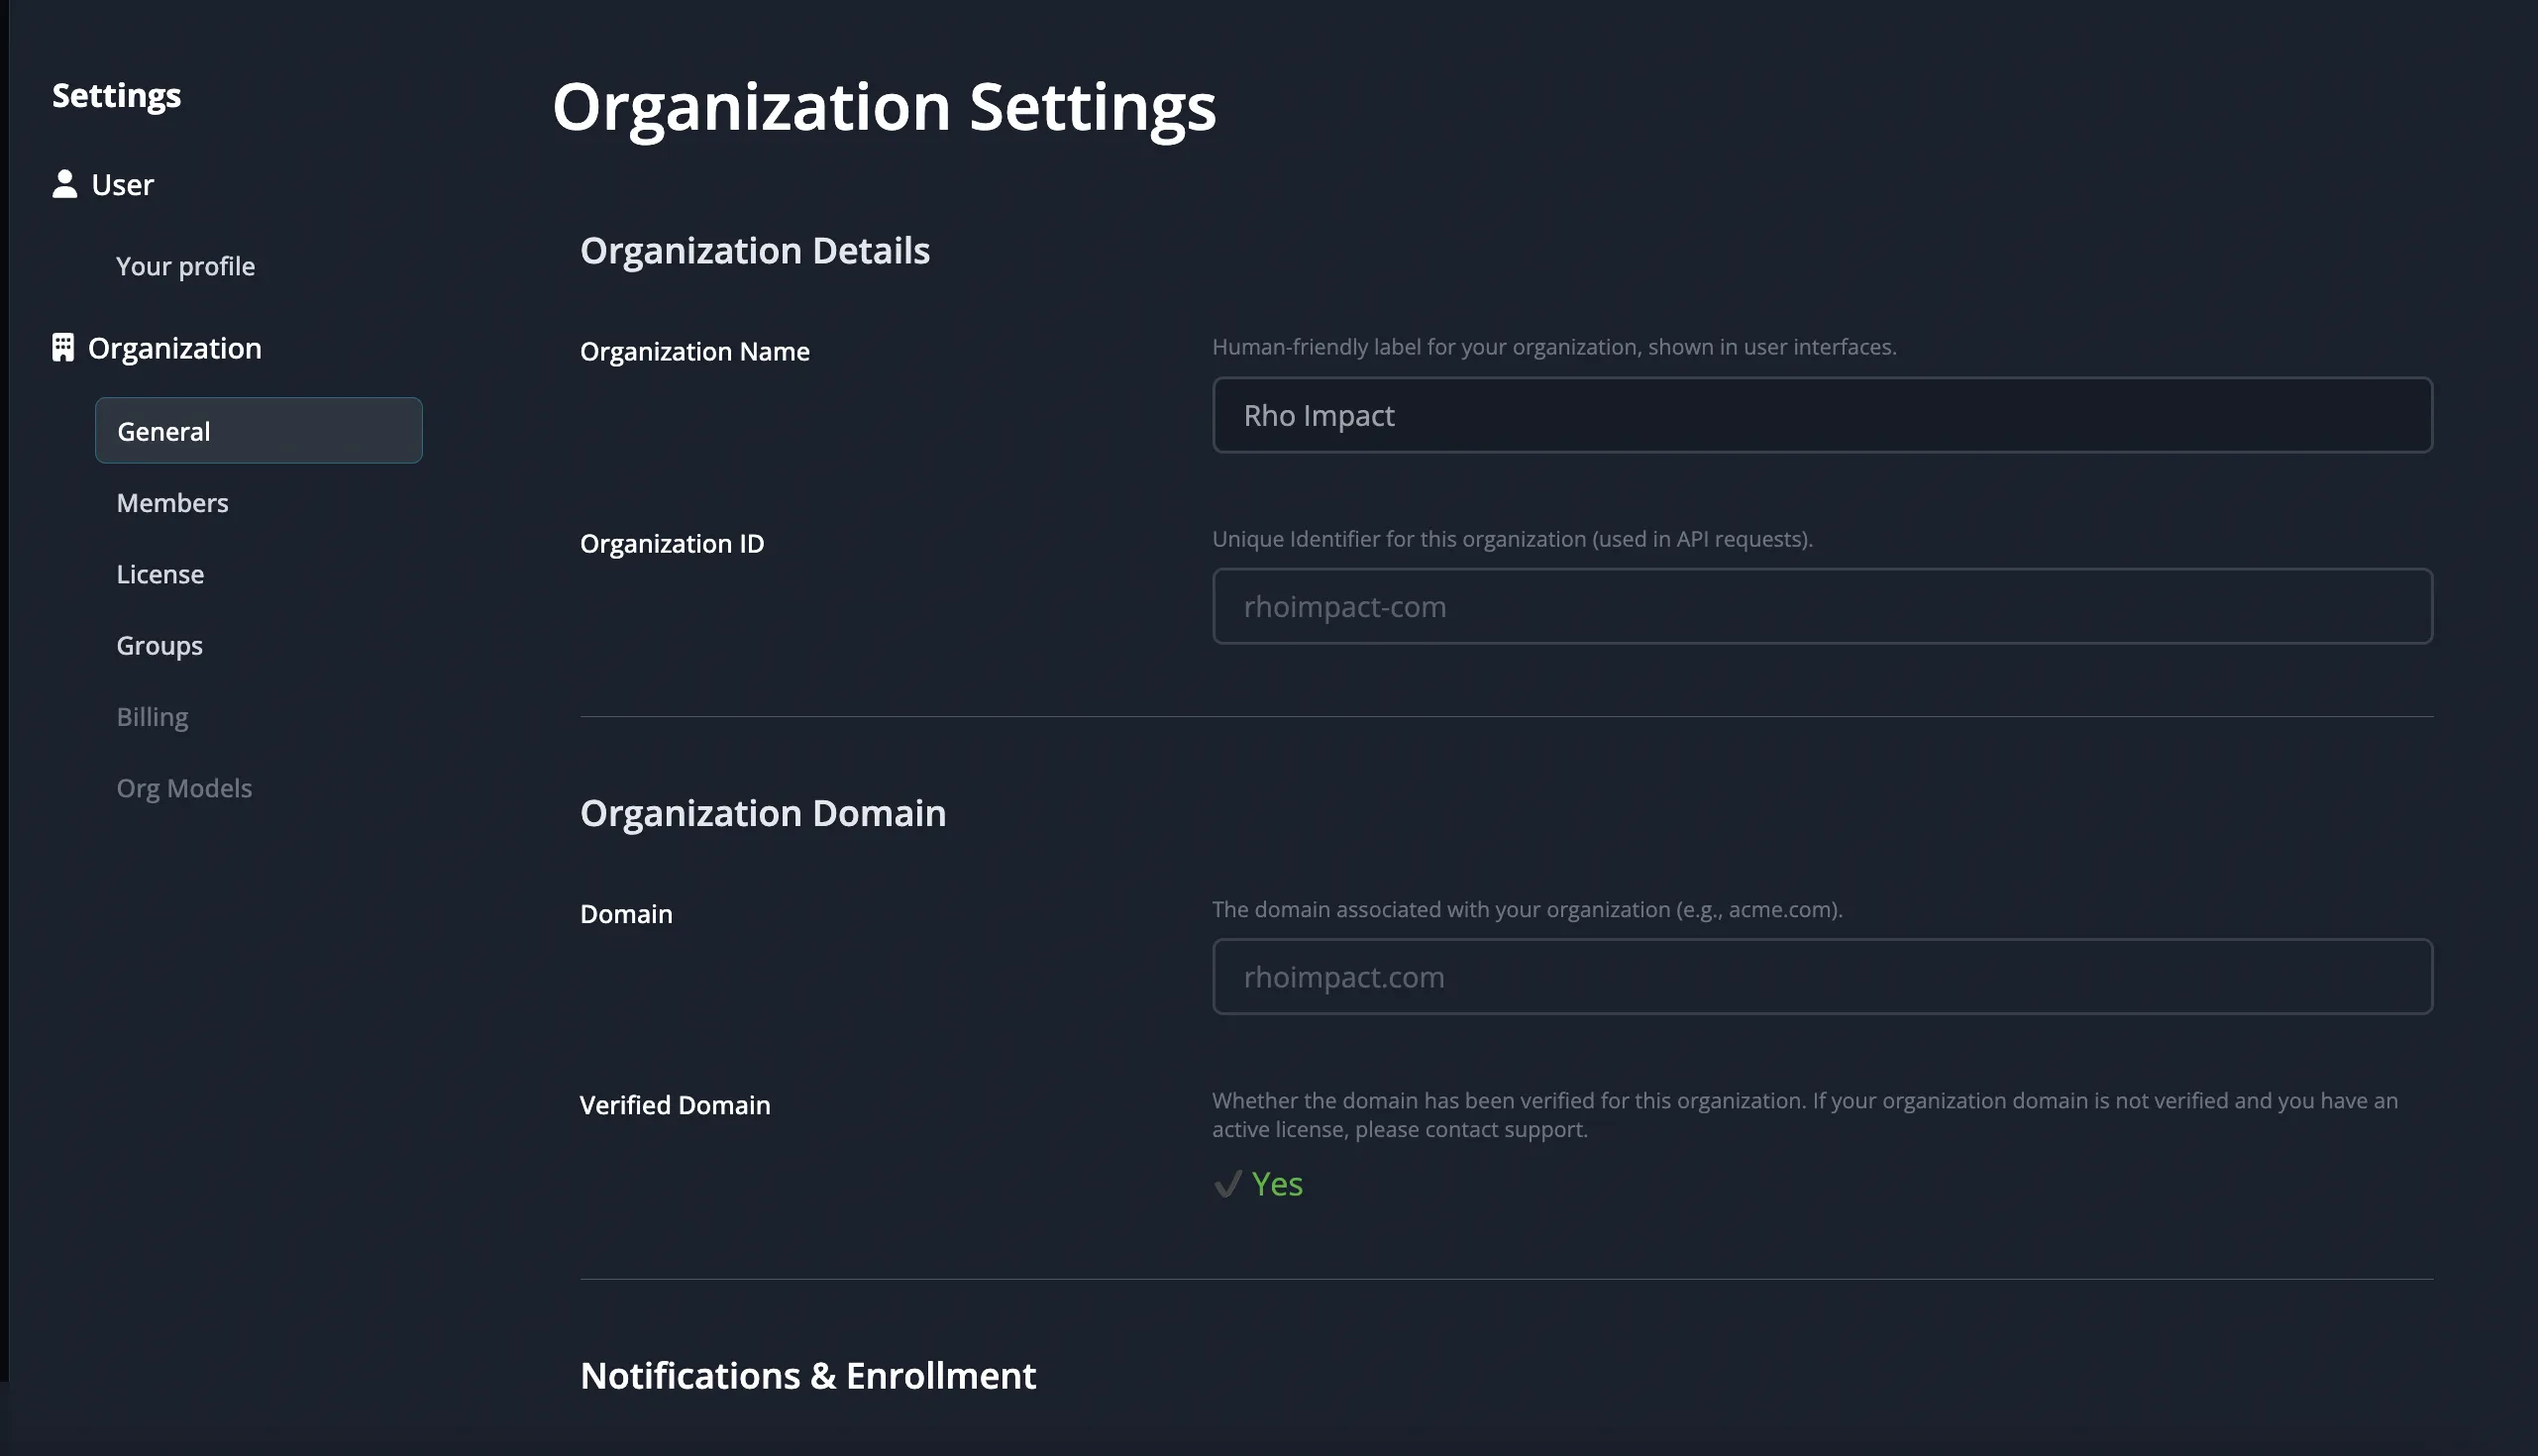
Example of Organization Details in Settings.
Summary
An Organization in Koi allows you to manage your team, set permissions, and control licenses. Whether you're an investor managing a portfolio or a company analyzing impact, the organization feature helps ensure the right people have access to the right data and tools.
Why Is It Important?
Managing an organization effectively means having control over who can access what. Koi makes it easy to invite team members, assign roles, set up domain-based auto-enrollment, and manage group sharing so collaboration is effortless.
How Do I Use It?
Accessing Your Organization
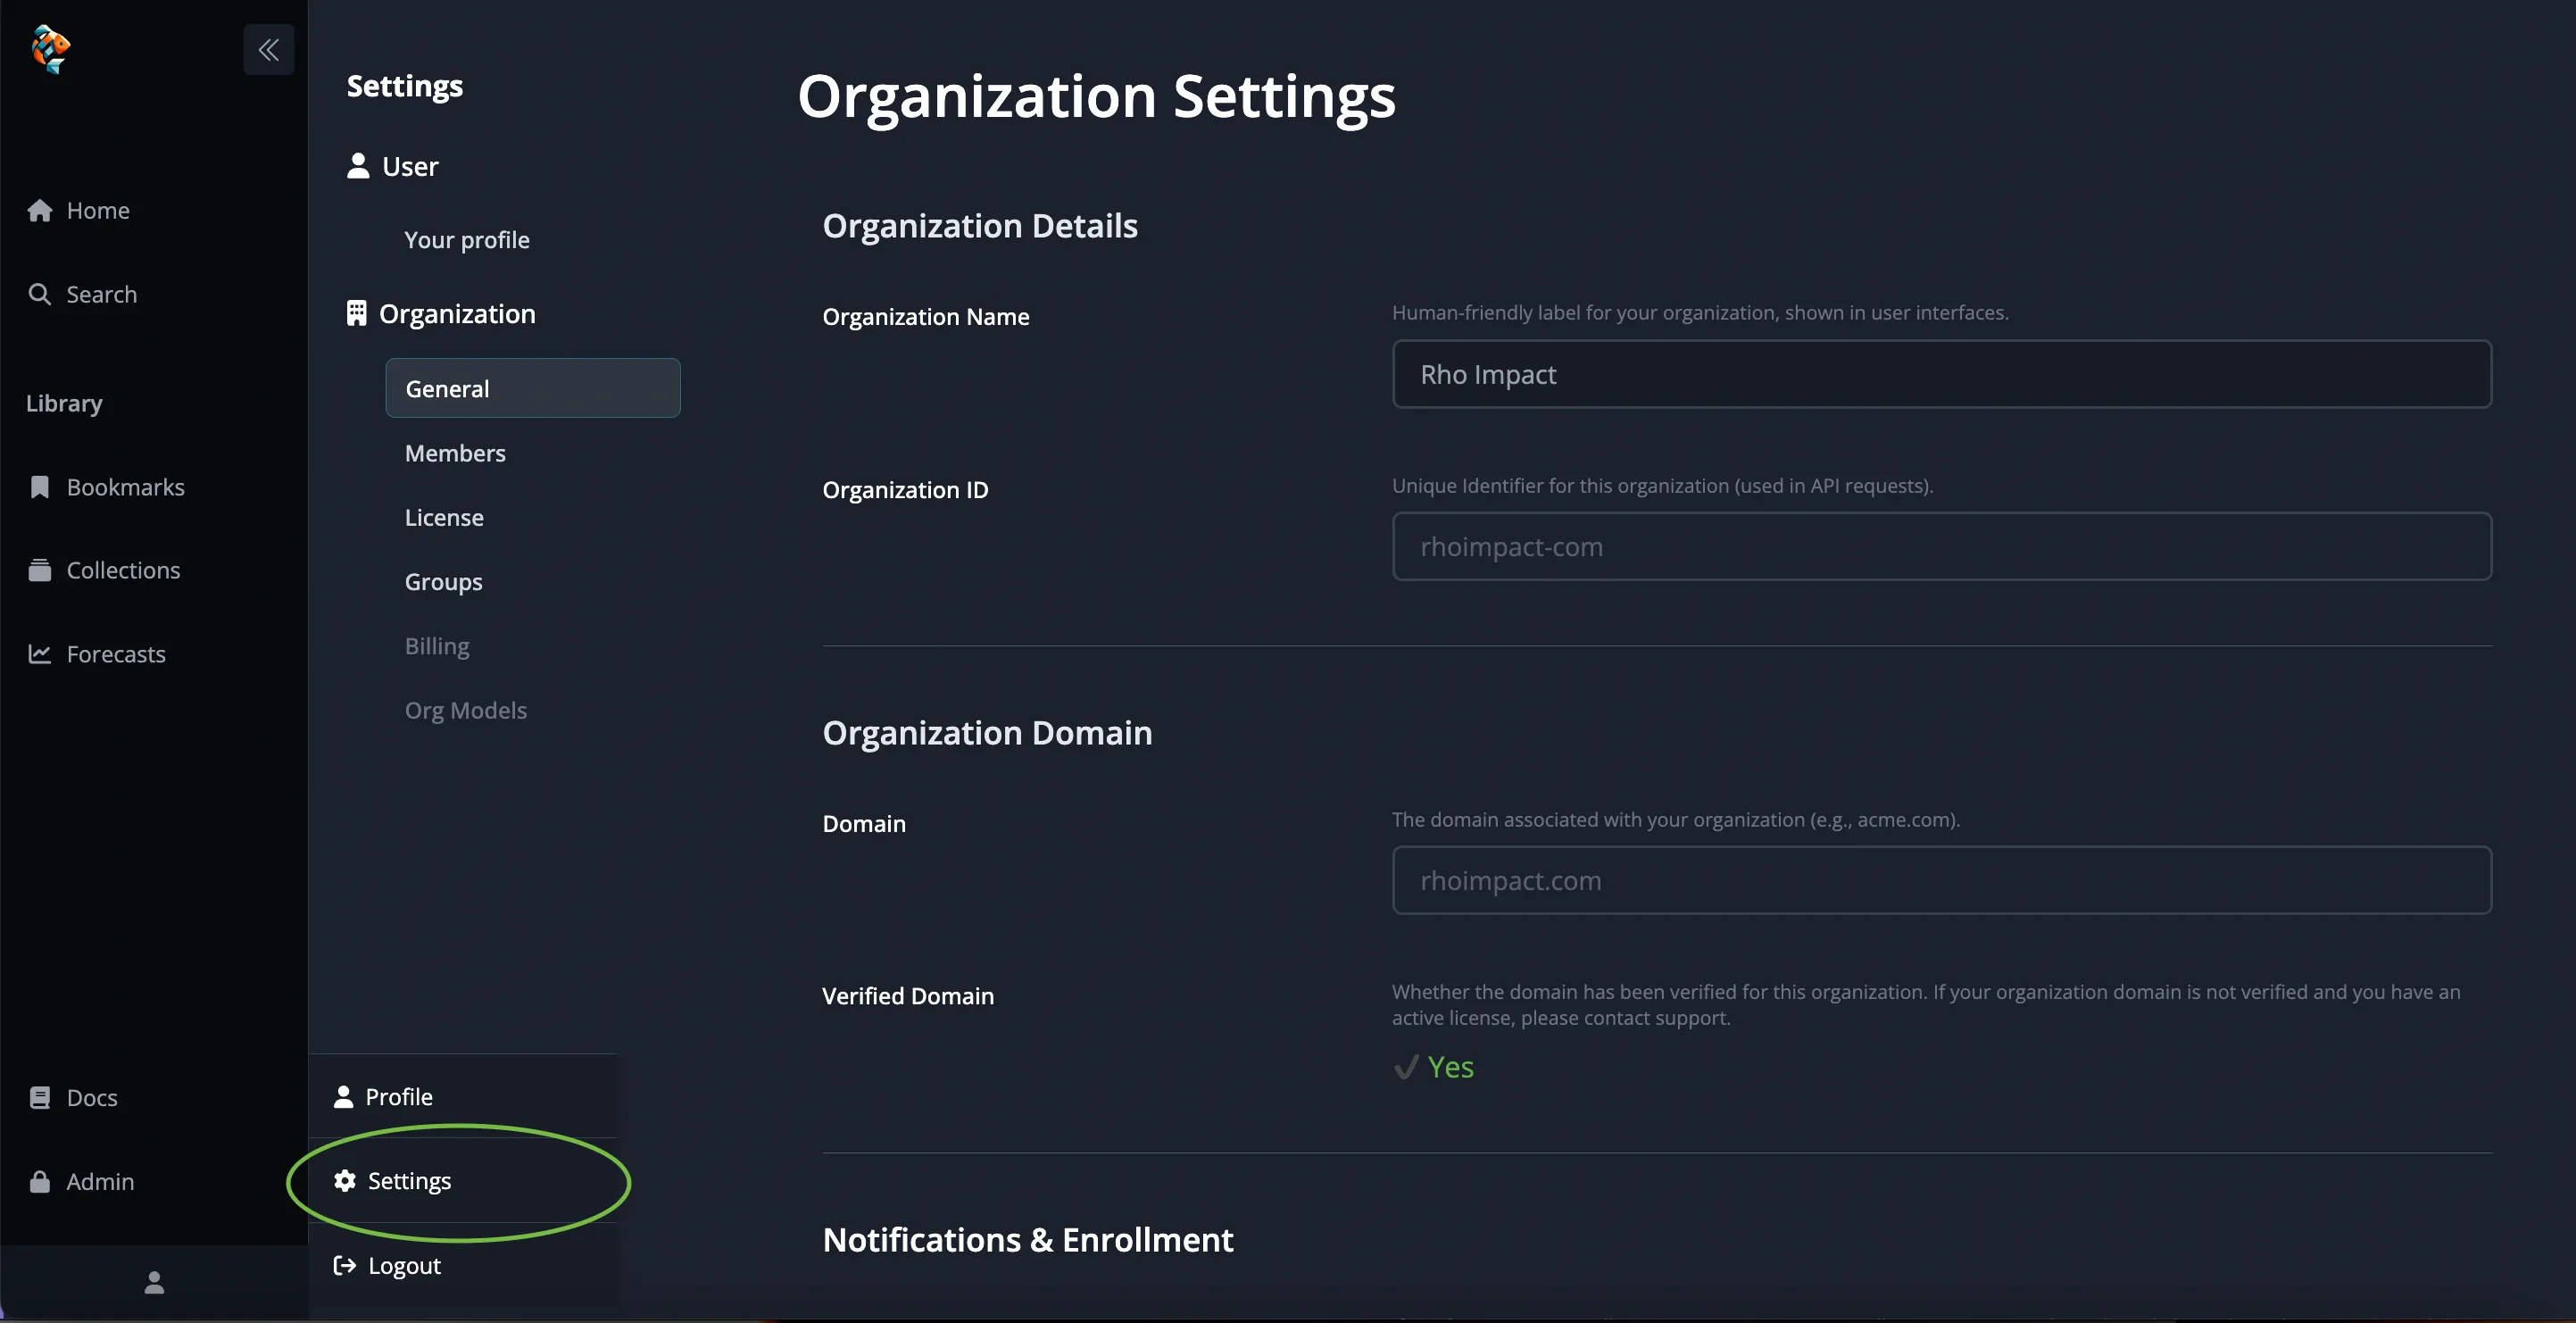
Navigation to Organization within Settings.
To access organization settings:
- Hover over Account () in the navigation bar.
- Click
Settings. - Under
Organization, select the section you want to manage.
Within Settings, the following tabs are available to manage your organization and user preferences:
-
Organization Details – View and edit your organization's name, unique identifier, and verified domain settings. You can also enable auto-enrollment to allow users with a verified email domain to join automatically.
-
Members – Manage users in your organization. Invite new members, assign roles, and control access levels.
-
License – View your organization's license details, including active seats, expiration dates, and license tiers.
-
Groups – Create and manage groups for easier access control. Groups can contain users or subgroups, allowing you to streamline sharing.
Organization Details
You can view and edit information about your organization, including:
- Organization Name – This is the human-friendly label for your organization, shown across Koi.
- Organization ID – A unique identifier used in API requests.
- Domain – Your organization's domain (e.g.,
example.com). If verified, users with matching emails can be auto-enrolled. - Auto-enrollment - If enabled, any user with a verified email from your domain will automatically join your organization when they create a Koi account.
- Notifications - If disabled, you will not recieve any notifications from Koi.
Managing Members
Adding Members
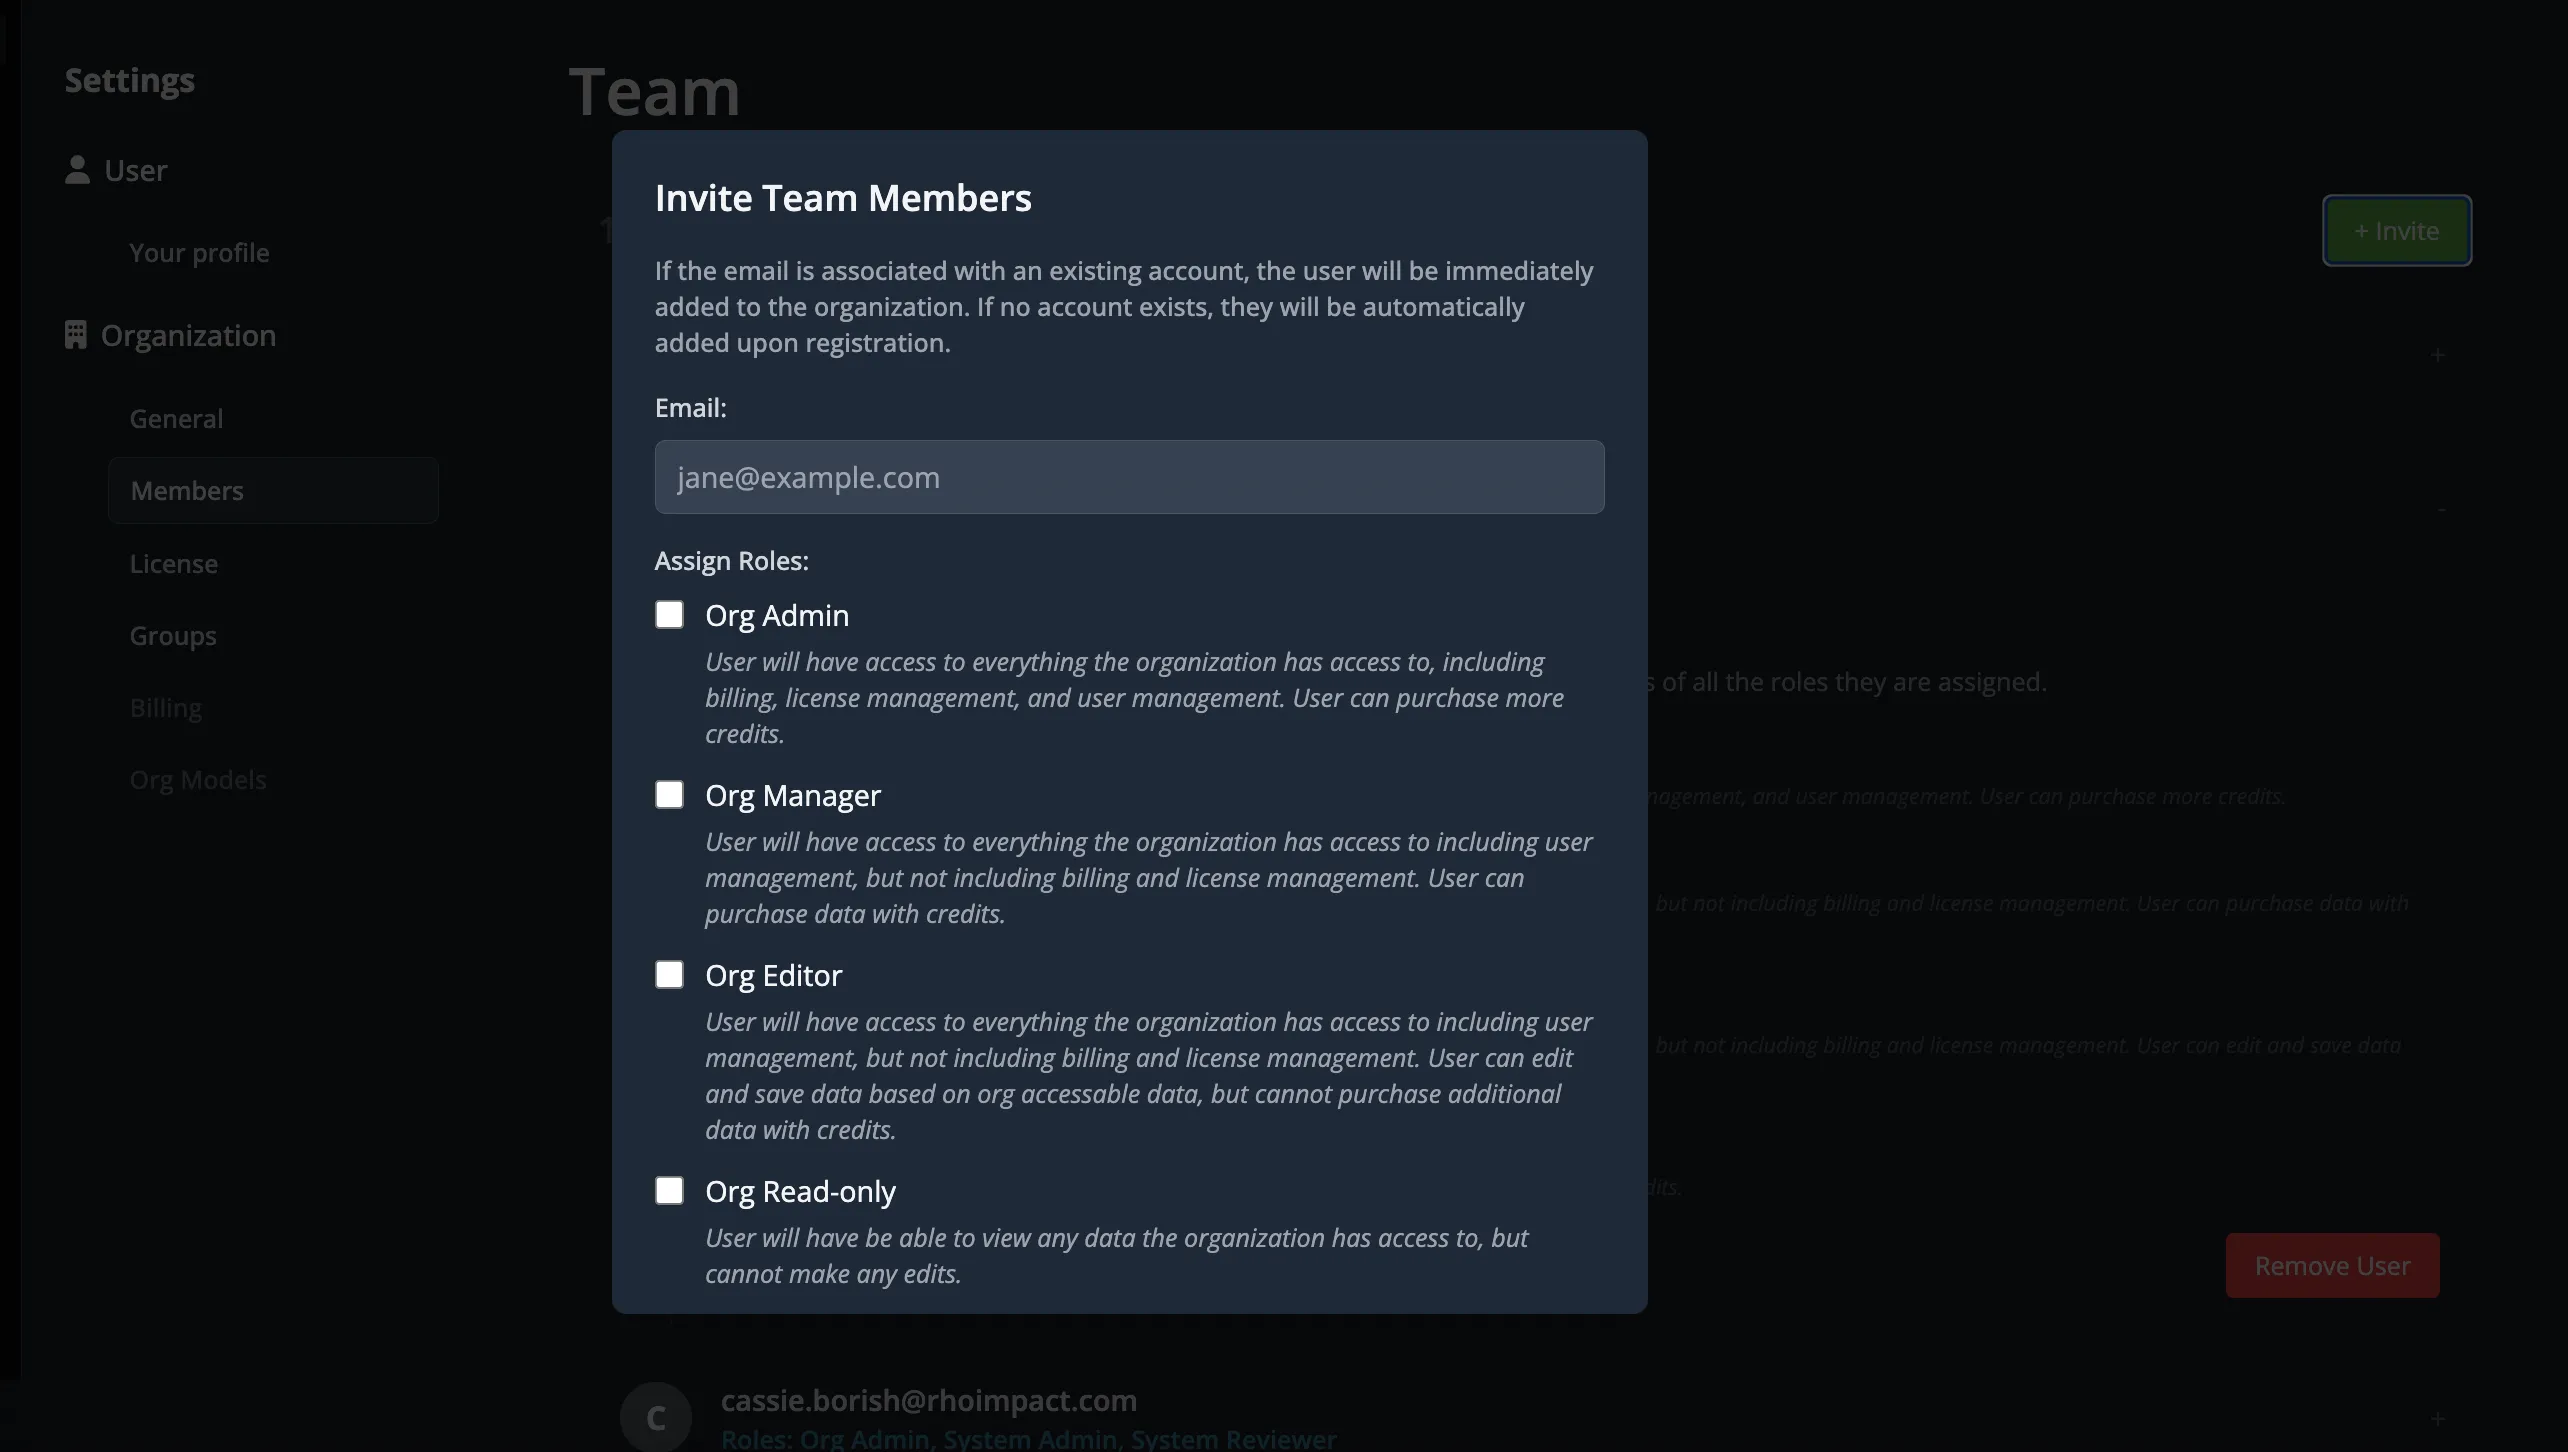
Inviting users to an Organization.
- Navigate to
Organization→Members. - Click the
+ Invitebutton. - Enter the user's email.
- Select the appropriate role.
- Click
Invite.
If the email is associated with an existing Koi account that does not belong to another organization, the user will be added immediately. Otherwise, they will be added upon registration.
Assigning Roles
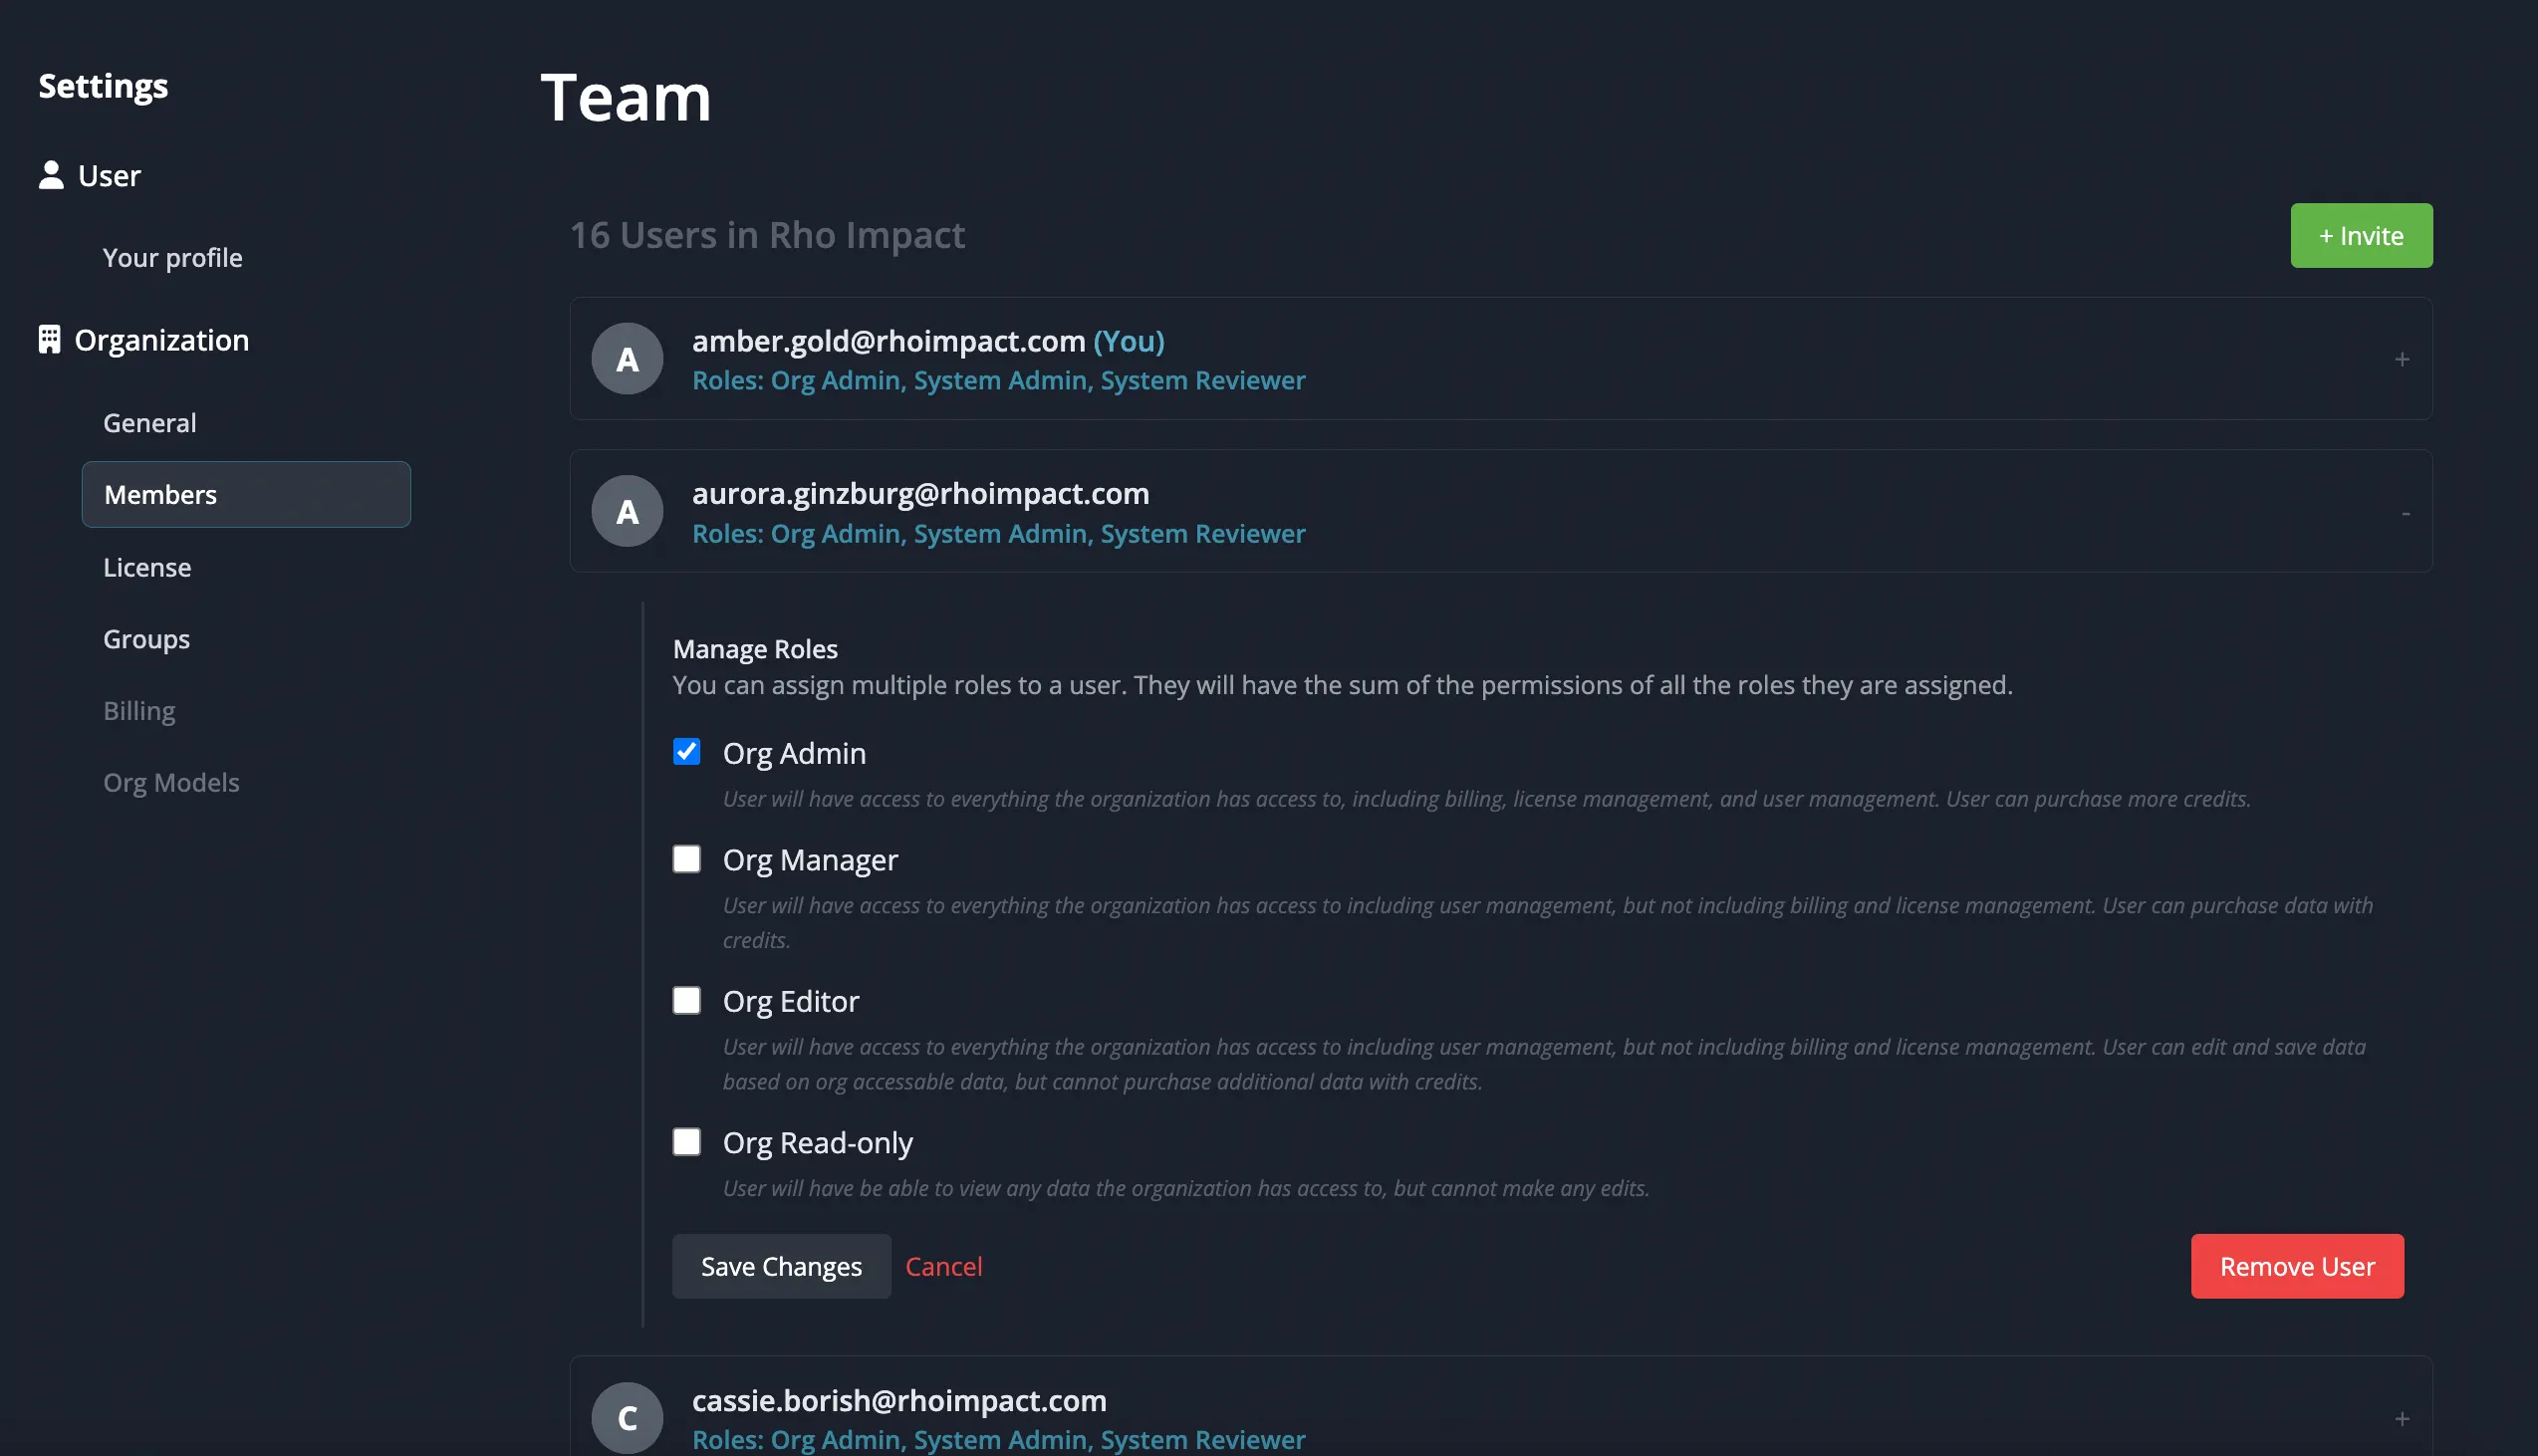
Example of assigning Roles to a user within an Organization.
When inviting or managing members, you can assign different roles:
- Org Admin – Full access, including billing, license management, and user permissions.
- Org Manager – Can manage users but cannot access billing or licenses.
- Org Editor – Can edit and save data but cannot manage licenses or purchase more data.
- Org Read-only – Can view data that has been shared with them or that is public, but cannot edit data.
License Management
Licenses are set at the organization level. The maximum number of users (seats) depends on your license tier.
Groups
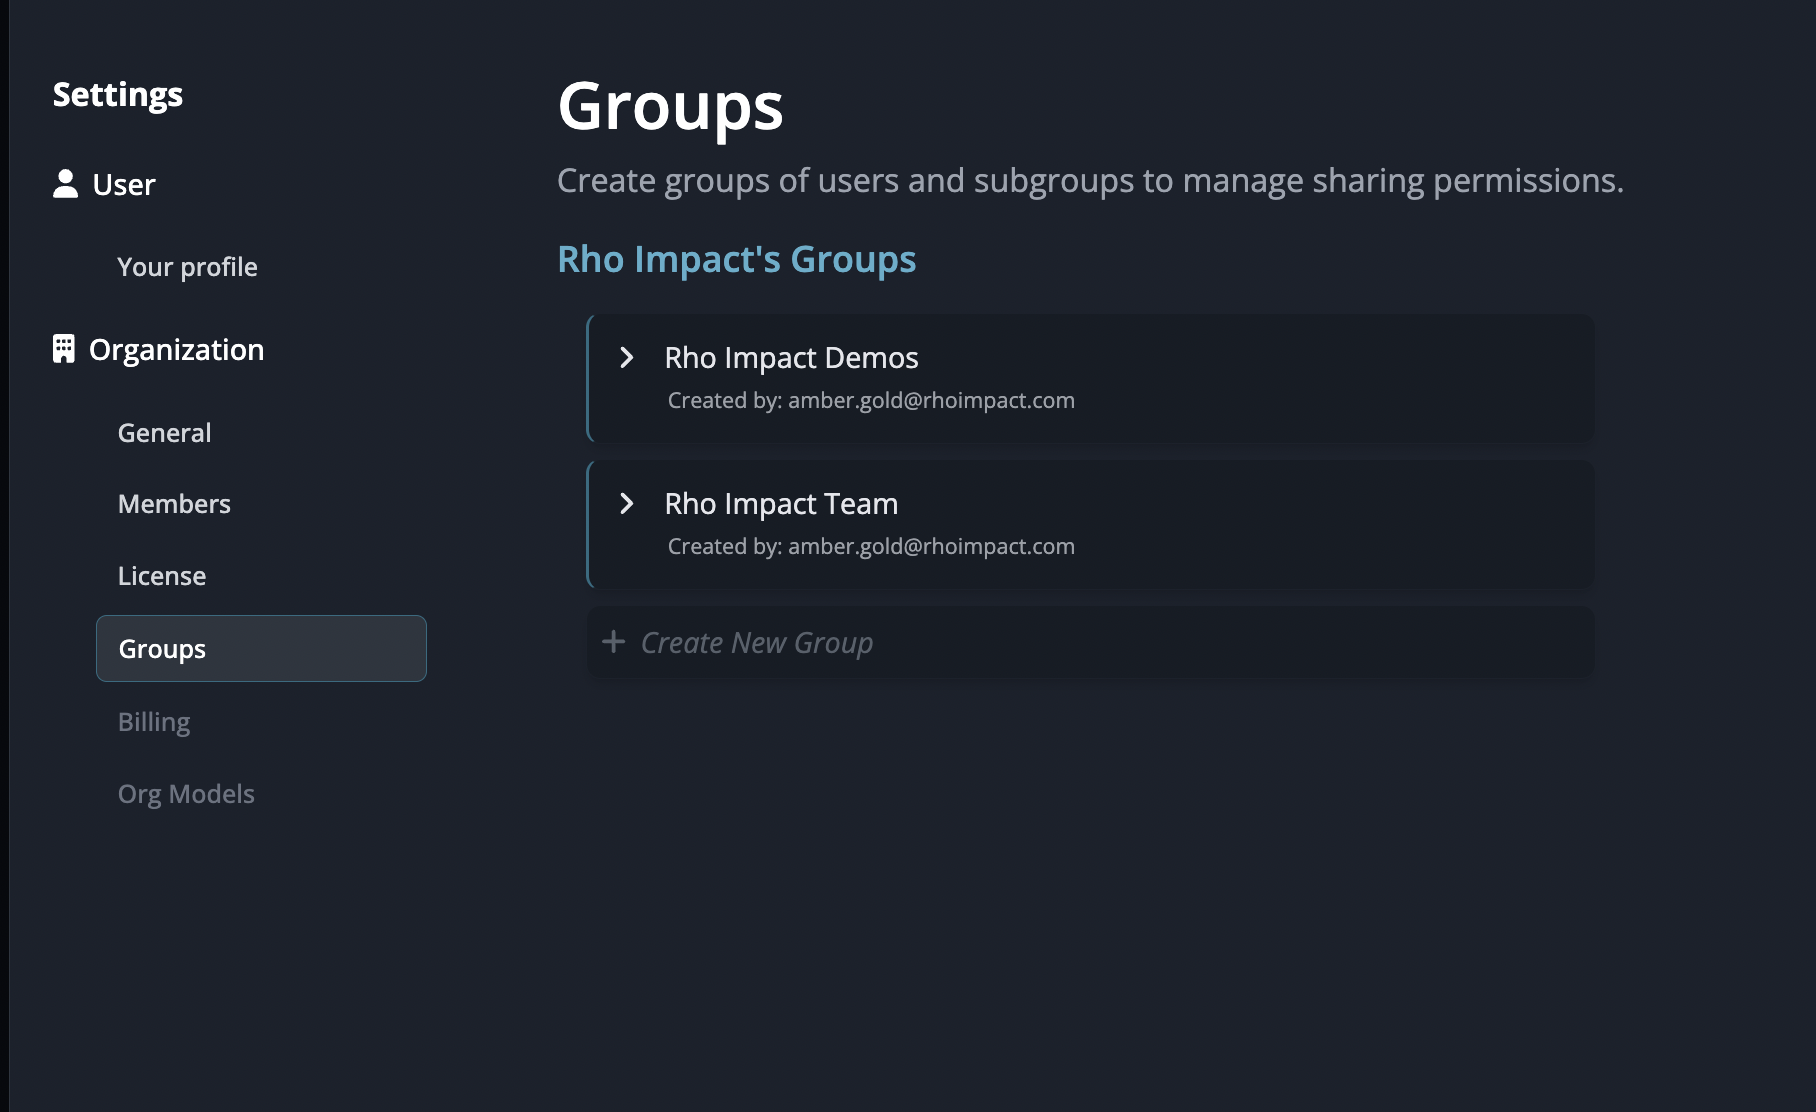
Example of Groups for an Organization.
Groups allow you to manage shared access more efficiently by organizing users into teams. Instead of adding users individually to each Custom Analysis or Collection, you can share with an entire group at once. You can add users that are outside your organization.
Groups can also contain subgroups, meaning a group can include other groups, inheriting access permissions automatically. This is useful for structuring teams, departments, or role-based access.
Creating a Group
- Go to
Organization→Groups. - Click
+ Create New Group. - Enter a name and add users or existing groups.
- Share a Collection or Custom Analysis with your group.
Managing Groups & Subgroups
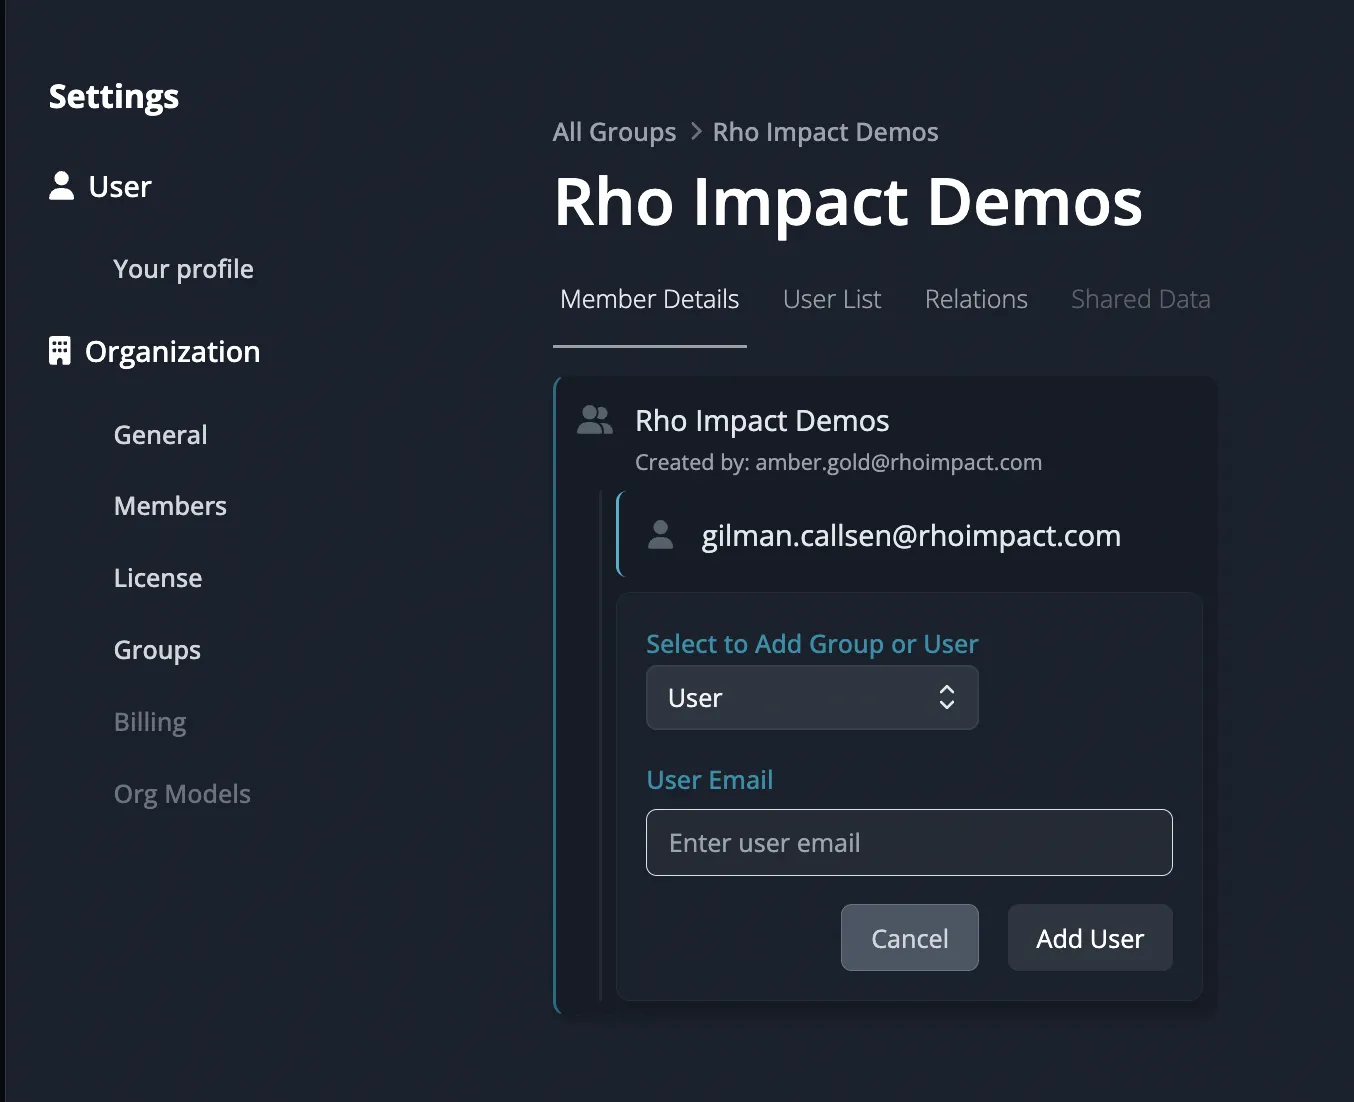
Example of editing a Group for an Organization.
To view and edit a group, simply click the group name. You can:
- Add or remove members
- Nest subgroups by adding existing groups
When you add a group as a subgroup, its members automatically inherit access to anything shared with the parent group.
Pro Tips
- Enable Auto-Enrollment – If your team frequently adds new members, enabling auto-enrollment for your domain will save time.
- Leverage Subgroups for Large Teams – Create parent groups (e.g., "Portfolio Managers") with nested subgroups for different teams.
Frequently Asked Questions
-
Can I add users outside my domain?
Yes, but they will need to be invited manually. Auto-enrollment only works for verified domains.
-
How do I transfer organization ownership?
Contact Koi support if you need to transfer ownership to another admin.
-
How do I add a user that is a member of another organization?
A user can only belong to one organization at a time. We do not currently have a method to leave your organization as a user, so you will need to contact Koi support if you need to transfer that user into your organization.
Coming Soon
- Billing: Manage payment details, view invoices, and adjust your organization's subscription.
- Email Invite: Koi will send an email invitation automatically, instructing the invited user how to register for a Koi account.
Want these features faster? Check out our public roadmap where you can upvote them or request a feature to let us know what's most important to you!